How to prepare walls and ceilings for painting
It’s exciting to redecorate a room in a new colour or style. But as eager as you might be to just get going, it’s important to remember one thing: the better you prepare, the better and longer lasting the finish will usually be. You shouldn’t just apply a new coat of paint to a problematic surface and expect the results to last.
Preparation of walls and ceilings in advance to ensure the surface is smooth, dry and stable is essential. Painting over problems, such as damp patches, is usually futile. The same problems will soon reappear, and you’ll be faced with the prospect of having to redo the work.
This article looks at the common issues that can affect walls and ceilings, how to prepare them properly for painting, and when to get the help of trade experts.
What problems should I check for before decorating?
Before you prepare walls and ceilings for painting, you should assess their condition. Common problems include:
- Moisture damage – Check for any signs of damp; stains, blisters, discolouration and peeling paint. If left, moisture can weaken the integrity of the surface and impact your future efforts. Our leak detection experts can find any leak or source of damp for you.
- Mould or mildew – Indicators of damp. Mould can take the form of green or black spots and can be hazardous to your health. Causes of damp should be investigated and fixed before decorating.
- Cracks and holes – Some small cracks can be easily filled. If movement is the cause of the crack, only a thorough repair job will prevent it from coming back within a matter of weeks.
- Hollow sections – If it sounds hollow when you knock against the surface, it could mean the plaster has ‘blown’, which means it isn’t adhering anymore.
- Infestations – Check for signs of ants or rodents. Look for tiny holes, droppings and gnaw marks. If you suspect an infestation, consult a pest controller.
Can I decorate over walls and ceilings that are damp?
If your walls and ceilings are suffering from moisture problems, it must be resolved before you decorate. Painting over damp patches is very short-term as the moisture will continue to spread; we’ve even seen people lay plasterboard over damp surfaces, only for the water to visibly soak through!
Moisture issues can happen for several reasons, including rising or penetrating damp (rainwater ingress), condensation, or a plumbing or heating leak in your property. Our tradespeople can assist with penetrating damp and diagnose hard-to-find leaks with pinpoint accuracy. Once it’s found, a member of our team will be able to stop the leak for good.
If you need to claim for a leak, it’s essential that you act quickly. We have a separate article on how to claim for a leak on your home insurance, which advises on what you should do.
Tip: You may see paints advertised as being suitable for walls suffering from damp. In our experience, you should only apply these paints to a wall that’s dry, as extra protection, and once the reason for the moisture has been dealt with fully.
Do I need to remove old paintwork and wallpaper?
How you prepare walls and ceilings for painting depends on their condition. Bubbling, flaking, or peeling paintwork should be removed with a stripping knife, and the surface should be evened out with grit sandpaper. However, if the existing paintwork looks good and there are no signs of problems with the wall’s integrity, you can clean the surface and paint over it.
While some people like to paint over wallpaper, we don’t recommend it. Weaknesses in the paper could eventually affect the paint applied to it. By removing wallpaper first, you give yourself a more stable surface to work on.
Can I decorate over hairline cracks?
It’s usually safe to paint over one or two hairline cracks, as long as they’re not getting worse or in the form of a cluster. Any more than one and two, and there could be structural issues. If you do paint over them, they may start to show through after a short time.
You could alternatively wallpaper over them, as this will do a better job of hiding them in the long run. However, any more than one or two hairline cracks could indicate structural concerns.
Movement cracks shouldn’t be painted or wallpapered over. These cracks will need to be stabilised, and there are several steps involved:
- The crack will need to be assessed
- It has to be ‘chased’, or ‘dug out’ to make it wider so the filler can be applied
- A filler is applied, as is a fibre mesh. A second layer of filler is then added
- Several layers of plaster are applied to the affected area
- The surface will need to dry fully before it can be sanded down
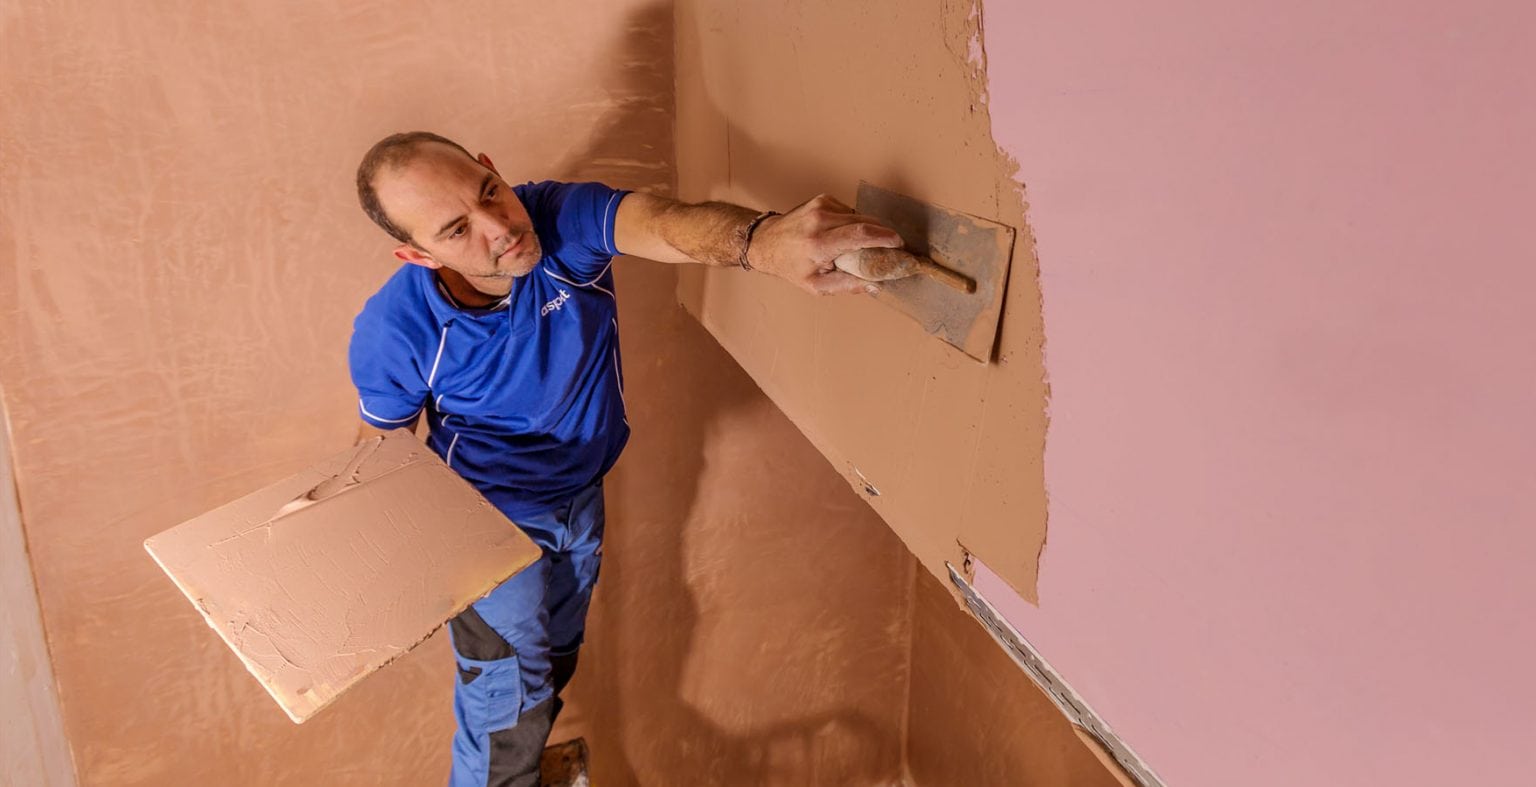
Can I plaster my own walls and ceilings at home?
Even the most experienced DIYers can get things wrong, and when it comes to plastering, you only have one chance to get them right. If you mess up the plastering mixture or apply the wrong technique, you could end up with structural and cosmetic problems that take time and money to fix.
Ask an accredited plasterer to prepare your walls and ceilings for the best results. At Aspect, we have experts who provide a full range of plastering services, including skim plastering, to leave your wall or ceiling with a professional finish ready to be decorated.
If you’d like someone to take on the decorating work as well, our painters and decorators will be happy to help. We have tradespeople to assist with every part of your project, from leak detection and damp proofing to plastering, painting and wallpaper hanging.
Should I clean the wall or ceiling before painting?
It’s good practice to wash your walls and ceilings before you decorate them. All it takes is warm water, detergent, a sponge and some rubber gloves. You could alternatively use sugar soap, which is specially formulated for cleaning painted walls and ceilings. Washing your surfaces down in this way will help remove dust and grease, which provides a good base for the paint to adhere to.
Give the surface time to dry before painting it. If you don’t, the moisture trapped inside could cause the paintwork to blister and crack.
Book an accredited plasterer

Confused at how to prepare walls and ceilings? Our plasterers can carry out all the services you need.
- A free estimating service
- Knowledge and advice you can trust
- Internal plastering & external rendering
- Decorative plastering services
- Skim plastering before decorating
Was this article helpful?
Think we could improve this article? Please let us know